Answer Sticks!
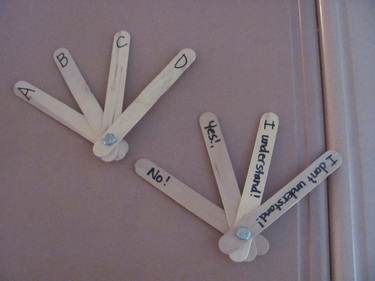
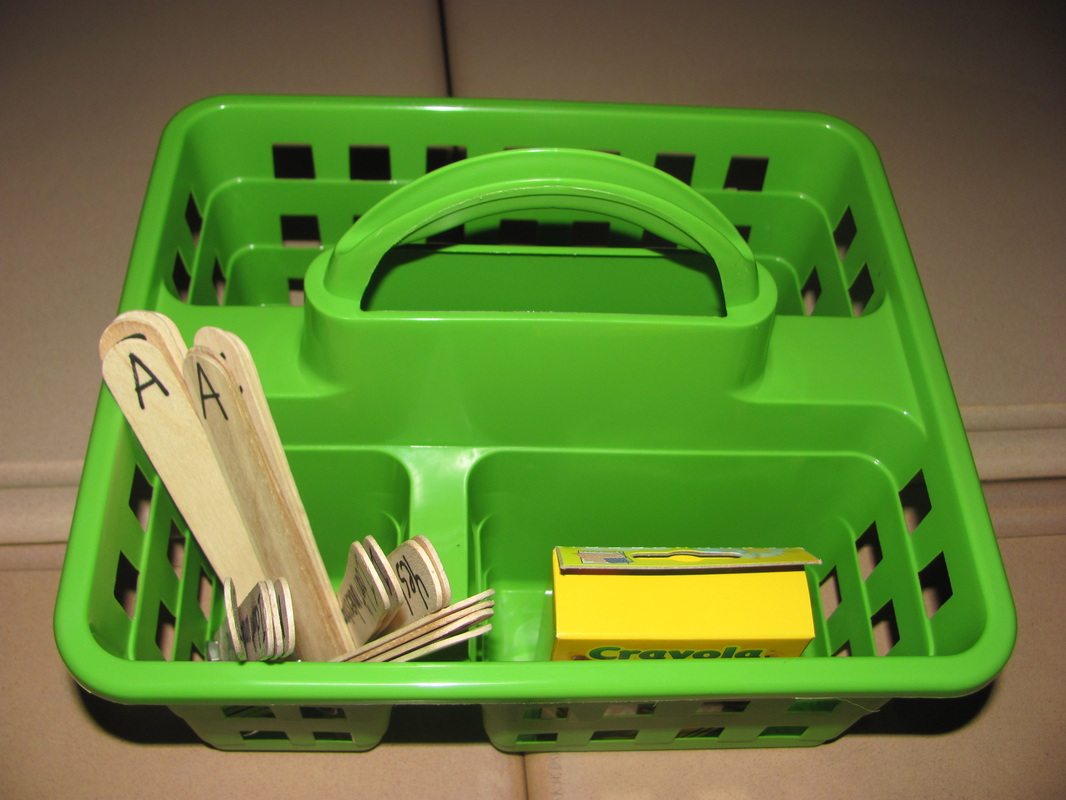
I saw on Pinterent how teachers made these types of answer sticks for their kids to use. So I made these! I used my husband's drill to make holes in one end of popsicle sticks. I rambled through my husband's nuts and bolts and found some just the right size. After putting together four, I wrote A, B, C, and D on one side and on the other side, I wrote, yes, no, I understand, and I don't understand. I use these to check for understanding quickly and then I know without everyone else in the class knowing who gets it and who doesn't. It's a great way to check kids' understanding. Here's how I do it...I give a question and then I say, Think, Choose, Show. This technique allows my kids to choose an answer and show at the same time so that nobody is allowed to look around and see what other students are choosing. I love using the answer sticks and so do my students. They keep their answer sticks in their community basket in the middle of their sets of desk It's simple and cheap. Try it!
Writing Folders...a GREAT way to organize your students' writing!
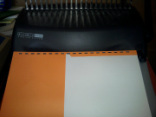
Get any penny folders when they went on sale at Office Depot? Wondering what you are going to do with them?...I have the answer! Create a four pockets Writing Folder using two 2 pocket folders, binding combs, and a binding machine. See directions below and pictures to help walk you through.
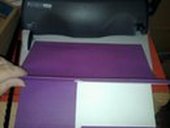
Punch holes in the folded side of folder 1. This will be the outside folder
Open folder 2, where the outsides meet.
Punch holes in the folded edges.
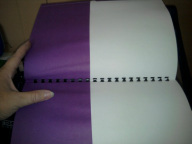
Attach the binding comb and open the comb. Insert just the right side of the folder into the comb.
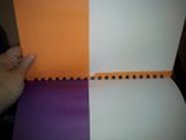

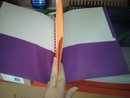
Now that you've joined the two folders together, you have enough pockets to fit all the things your kids need!
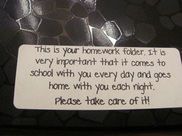
Excited over HOMEWORK folders...yea, that'd be me!

Front Cover
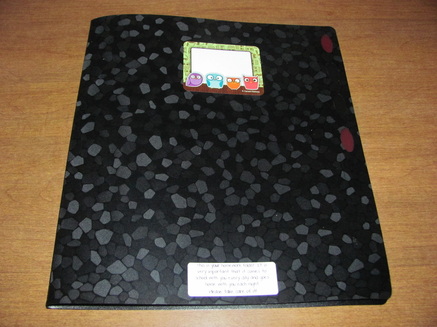
I found out about these folders on Proteacher.net. I immediately called around to several Dollar Trees to locate them with no luck...finally after a few call backs, I found them. I purchased them for my class. You can see by the photos that they aren't your NORMAL folders. They are plastic and inside they have four pages of pockets! Yes, this makes me giggle! LOL Each subject will have a heading I made on labels so that my students will stay organized! Hope it works out as planned.
This. IS a GREAT way to teach kids what it means to create an interesting story!!
So if you've read anything on my site, you know I love Proteacher! I get lots of great ideas from there that I straight out copy....with permission of course, or revamp to make my own. I met a lovely teacher there, Jennifer Tow, who shared this idea. It's a 6 point rubric that includes a very understandable "visual" idea and kid-friendly explanation of what each score would look like. Now I know that my county uses a 4 point rubric on formal writing, but I went ahead and did the 6 point rubric as an example for my class. It's so easy to understand, once you put the pictures to it. I'm including photos of the one I made for my room and then also I included the downloads if you want to create it yourself! I printed and put on scrapbook paper, then laminated.
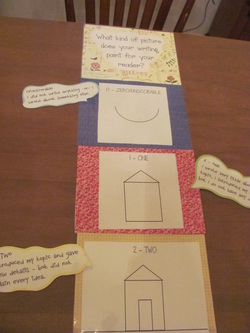
Here's the top.
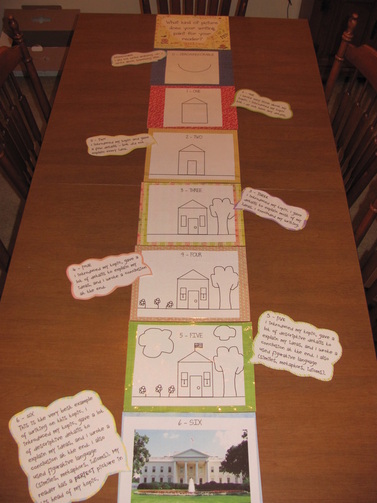
Here's what it will look like hanging in my room. I might not hang it top to bottom like this...maybe make it more squared off..if you can understand that! LOL
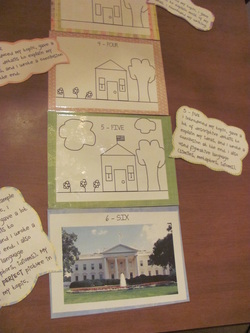
Here's the bottom.
| 6_point_writing_rubric_pictures1.pdf |
| rubric_explanation.pdf |
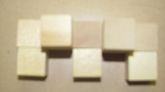
Teaching Perspective...
It's really hard to kids to see things from different perspectives. Here's a simple idea! When working with small cubes, have them build a structure using a few cubes. Then ask them to draw the structure from the front and back and side views. Then whip out that camera and take a picture of the structure from the different views and let them compare their drawings. Even though you say, get down to eye level and look at it, or stand right above it and look at it. It's so hard for them to do. But the camera can help. Check out these photos...something as simple as snapping a few quick shots will be all the different when working with perspective!
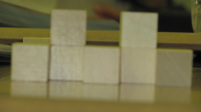
Side view...
Teacher's Favorites Box
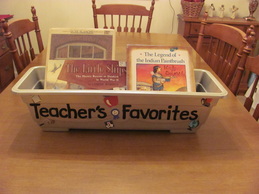
As I was walking down the aisle at Dollar General yesterday, I saw a planter on sale. I thought, what can I do with that? Then I remembered the ugly yellow basket I kept my teacher favorites in last year...the books that I advertised as my favorite ones.
Well, brown was not my style, so I glamed it up a bit and sprayed it shiny silver with plastic friendly spray paint. Then using my cricut, I cut out letters and added some "teachery" scrapbook stickers. I love how it turned out and can't wait to put it in my room!
And...it was really simple. I can see how any teacher could decorate a planter like this with endless possibilities!
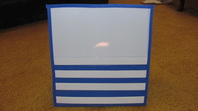
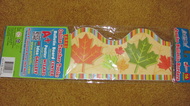
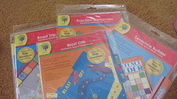
TARGET AND DOLLAR TREE...
What teacher can go by a Target or Dollar Tree and NOT STOP this time of year!? Certainly not me! I have found some great things this year at both stores. Here are just a few of the deals I got. The table top pocket chart to the left even has a small dry erase board at the top! The back side is full of just pockets! What a deal for $2.50! I snagged two of these babies! And look at the border I got!! It may look like ordinary border, but it's not! It is HUGE...probably at least twice the width of regular border. Again, $2.50. I also found other stuff in the Target dollar spot: mini dry erasers, two in a pack for $1. Dry erase markers, again, two in a pack for a $1. I got some stickers, hall and bathroom passes, baskets, bins, oh, the list goes on! One really cool thing I got was some coupon holders...no, not for coupons! I'm using them to hold task cards. They are very durable and have dividers inside.
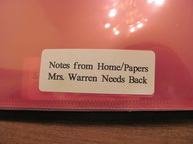
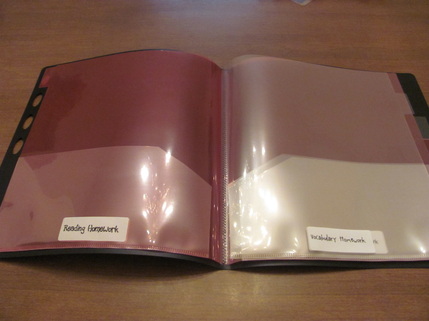
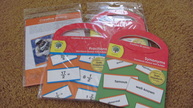
Moving on to Dollar Tree! I really racked up. Below you'll see the folder games I got as well as flashcards for various things such as fractions and synonyms. I'm really excited about the folders I got from there this year. They are not your ordinary two-pocket folders, mind you! They are plastic and on the inside, they have 4 pages, one pocket on each side. They are very durable and I'm using them for my homework folders this year. I made labels and stuck them on each page: reading log, reading homework, vocabulary homework, spelling homework, math homework, science homework, social studies homework, and papers Mrs. Warren needs back. Eight pockets was just what I need. I can't wait to see how they work this year. I hope to keep my students organized and this is hopefully going to help with that task!
More on the homework folder later...I'll post pictures of the folder!
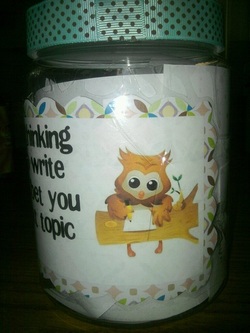
Who has ever heard a student say, "I don't know what to write about."? Well, here's a solution!
When students take part in Work on Writing, which is part of the Daily 5...sometimes they can't come up with topics to write about. I saw where Ms. Noble (click on her name to see her classroom photo page) used a topic jar for her class. She was generous enough to share her journal topics with me. I cut them in strips and added them to this plastic jar. Then, of course, I HAD to add a cute saying and an owl!
"If you're having trouble thinking of something to write about...OWL bet you can find a great topic in here!"
"If you're having trouble thinking of something to write about...OWL bet you can find a great topic in here!"

How. Cute. Is. This.

Got this idea from Abby over at http://theinspiredapple.blogspot.com/. How cute is this! The jeans are sewn up at the legs and filled with Smarties candy! To award a child's "smartness" on any level, for whatever reason, reach in and pull out a Smarties for them.
Abby also suggests creating stickers to give along with the candy on labels. She says that they love wearing the label and sometimes stick it in their planner so they can show their parents!
SO HERE ARE THE SMARTY PANTS I MADE! I filled the pants legs up with tissue paper. There was no way I was going to get THAT many Smarties! I changed up the sign some, so I'm uploading a copy of the one you see in the photo! I cut it out and mounted it on blue scrapbook paper and then laminated. I hotglued it to the clips on the hanger. Just inside the waist I put a long box, like the ones you get a necklace in...that's where I put the candy.
| smarty_pants_owl.pdf |
Crayon Clock
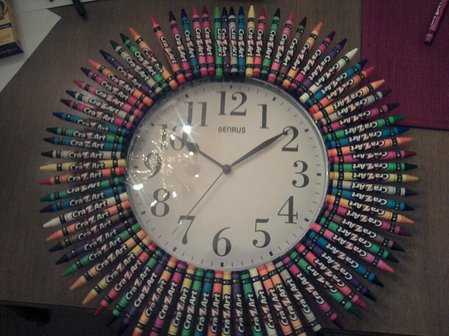
This project was very easy. I got a
$4 clock from Dollar General and
boxes of Cra Z Art crayons for 19
cent a box at Walmart. I hot glued
the crayons around the clock. There
was no pattern to how I glued the
crayons. I just randomly picked up
crayons to glue...if I picked up
one that was similar to the color I
glued, I just picked up another one.
It took 3 1/2 boxes of crayons, so
total cost for the crayon clock was
about $4.50. Not bad!
| smarty_pants.pdf |
Question Clouds
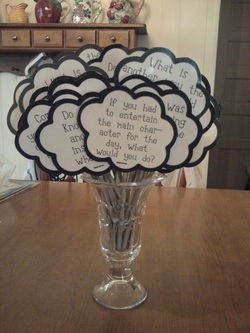
Using an idea from Tonya (you can click on her
name and visit her cool Weebly site!) on
Proteacher.net, I created question clouds. I used the
questioning strategies of Marzano. My "clouds" are
a little different than hers. I will use these questions
in large and small group settings to enhance my
questioning techniques. We all know that
sometimes we lack in the higher-order questioning
and having the question clouds right there at hand
will allow me to quickly ask GOOD questions! Feel
free to download my question clouds...my suggestion
would be to laminate for durability!
| marzano.pdf |
So here's this big piece of cardboard...
So what can I do with it???
What else?
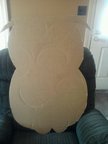
Cut an owl out of it! Paint will come soon...then I
will make it a Story Map board! See download for labels that
will be attached!
will make it a Story Map board! See download for labels that
will be attached!
| story_map.pdf |
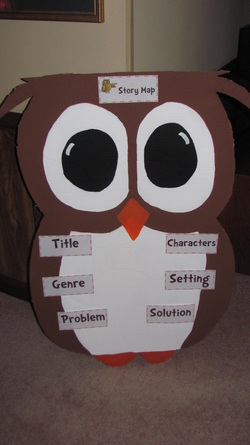
I absolutely love it. It's way cuter than the computer screen shows...Here's the owl made into a story map...
BROWNIE POINTS
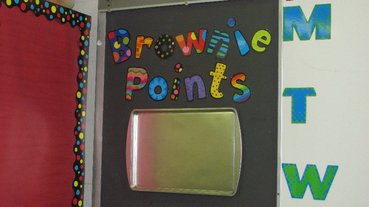
This is great for classroom behavior. I created brownies using brown contruction paper, enough to get 9 on the pan. I added some sprinkles by pasting colored dots on the top. Then I laminated. I used a 9 X 12 piece of construction paper that I then cut into 9 pieces. My kids get to add a brownie to the pan when the class gets a compliment from someone other than me. When the pan gets full, they get brownies! Then the pan gets emptied and it starts over again!
BOOK BOXES
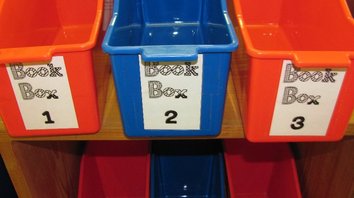
These are book boxes that I bought from Target for $2.50. They are very durable and less expensive than I've seen in some teacher supply catalogs. My students each have a box with the label you see here. Their boxes are labeled with a number not a name so that I can use the boxes year after year without changing labels. They are allowed up to 5 books in their boxes for the week. Each student has a day of the week when they are allowed to go to my classroom library to switch out books. In this way, they know to get enough books to last for a week and I don't have to answer, "Can I change books?" a million times because they know when their day is. I have included my book box labels here for your download pleasure! =)
| bookboxlabels.pdf |
Brain Bubbles

Brain Bubbles are not my original idea. Again, I got the idea from Tonya...visit her site by clicking her name. She posted about them on Proteacher.net. And LOTS of teachers jumped on board and created their own cool buckets and bins to hold them.
Inside the bucket are small round containers (bubbles) that include a mind builder sheet that I got from books I ordered from Mailbox. You can find them here! CLICK on the link and you will go to the Education Center's site where you can purchase the books. They have different grade levels and subjects! Students will complete Brain Bubbles when they are finished with their work. They will be expected to finish 18 bubbles in a 9 week period. They will have a tracking sheet so they will know what bubble they have completed. This will count as a classwork grade.
On the top of each bubble is a blue sticker. I wrote on each sticker L for language arts or M or math and then the question number included inside. On the bottom of each bubble, there is a red sticker or yellow sticker. One for math, one for language arts. So at quick glance they can see which one they have. I hope these Brain Bubbles help my children think for themselves and problem solve!
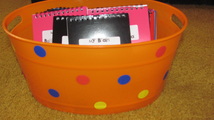
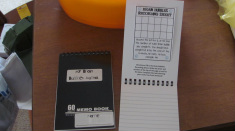
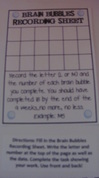
UPDATE!!! I have decided how my kids will keep track of their brain bubbles! I'm posting a photo or two and the new tracking chart. They will complete 18 for the nine weeks. They will record the BB type with a letter, M for math and L for Language Arts, and the BB number. They will record the date and the BB letter and number on their journal as well. I bought journals 3 to a pack from Dollar Tree. See the photo! I created the recording sheet and taped it to the top only onto the inside of the journal. When we add a new sheet for the new nine weeks, we'll only tape it at the top so they can see which ones they've done and won't repeat any BB.
Inside the bucket are small round containers (bubbles) that include a mind builder sheet that I got from books I ordered from Mailbox. You can find them here! CLICK on the link and you will go to the Education Center's site where you can purchase the books. They have different grade levels and subjects! Students will complete Brain Bubbles when they are finished with their work. They will be expected to finish 18 bubbles in a 9 week period. They will have a tracking sheet so they will know what bubble they have completed. This will count as a classwork grade.
On the top of each bubble is a blue sticker. I wrote on each sticker L for language arts or M or math and then the question number included inside. On the bottom of each bubble, there is a red sticker or yellow sticker. One for math, one for language arts. So at quick glance they can see which one they have. I hope these Brain Bubbles help my children think for themselves and problem solve!
UPDATE!!! I have decided how my kids will keep track of their brain bubbles! I'm posting a photo or two and the new tracking chart. They will complete 18 for the nine weeks. They will record the BB type with a letter, M for math and L for Language Arts, and the BB number. They will record the date and the BB letter and number on their journal as well. I bought journals 3 to a pack from Dollar Tree. See the photo! I created the recording sheet and taped it to the top only onto the inside of the journal. When we add a new sheet for the new nine weeks, we'll only tape it at the top so they can see which ones they've done and won't repeat any BB.
| brainbubbles_sheet.pdf |
